Quick Start Guide
Get up and running in about 10 minutes. This guide walks you through the basics: creating your company, reviewing accounts, and recording your first transaction.
Tip: Start in Simple Mode if you're not an accountant. It hides debits and credits and uses plain language. You can switch to Accountant Mode anytime. See Simple vs Accountant Mode for details.
Step 1: Create Your Company
On first launch you'll see a welcome screen. Click Create New Company and fill in:
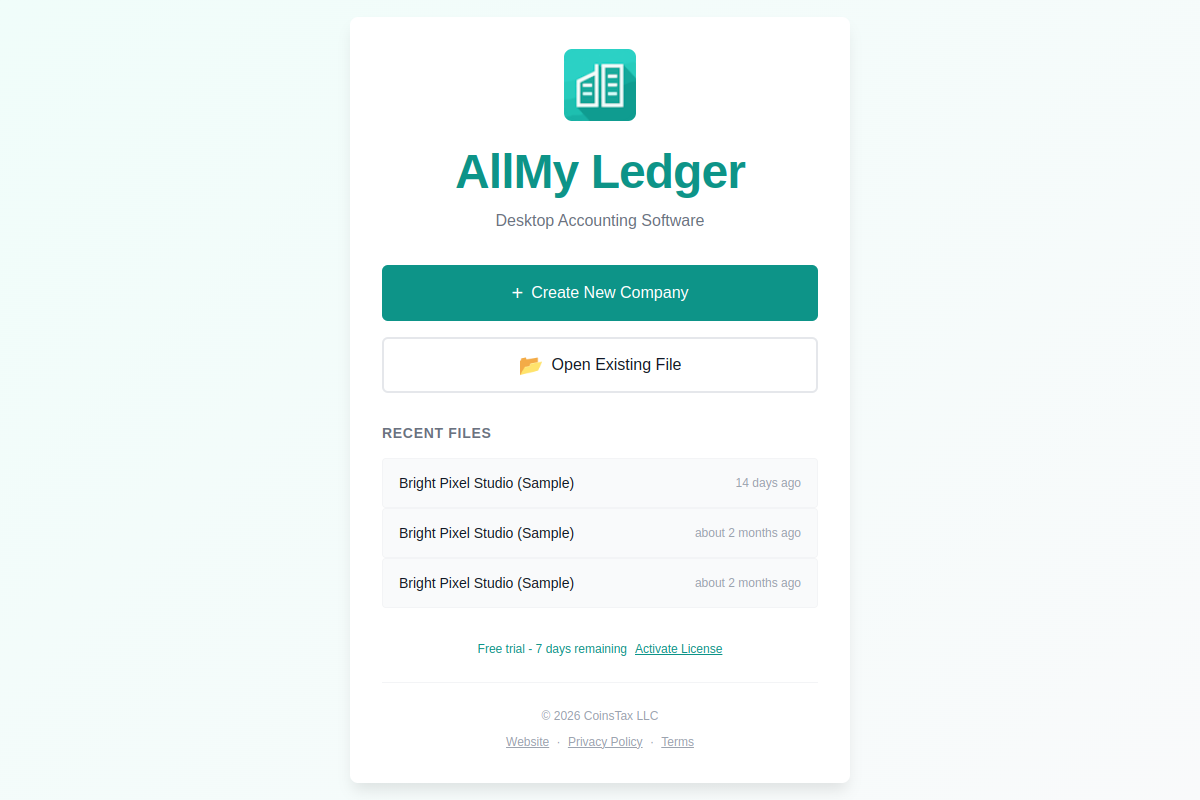
- Company name — your business or trade name
- Fiscal year start month — January for most businesses
- Accounting method — Cash or Accrual
Step 2: Review Your Chart of Accounts
AllMy Ledger comes with a default chart of accounts designed for freelancers and small businesses. You'll find standard accounts like Checking, Accounts Receivable, Sales Income, and common expense categories.
You can customize accounts later — add new ones, rename existing ones, or remove accounts you don't need. See Chart of Accounts for details.
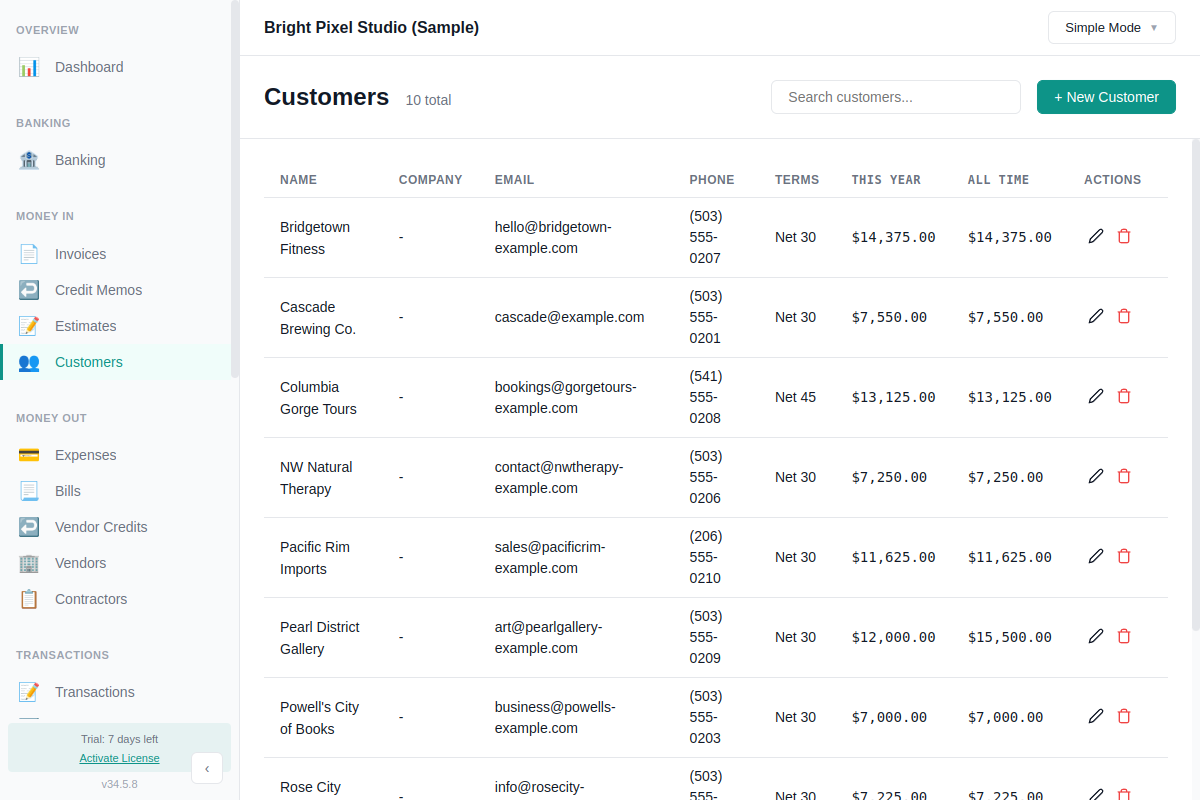
Step 3: Add a Customer or Vendor
Before creating invoices or recording bills, add your contacts:
- Go to Customers or Vendors
- Click New
- Enter name, email, and any other details
- Click Save
You can also create customers and vendors on the fly when recording a transaction.
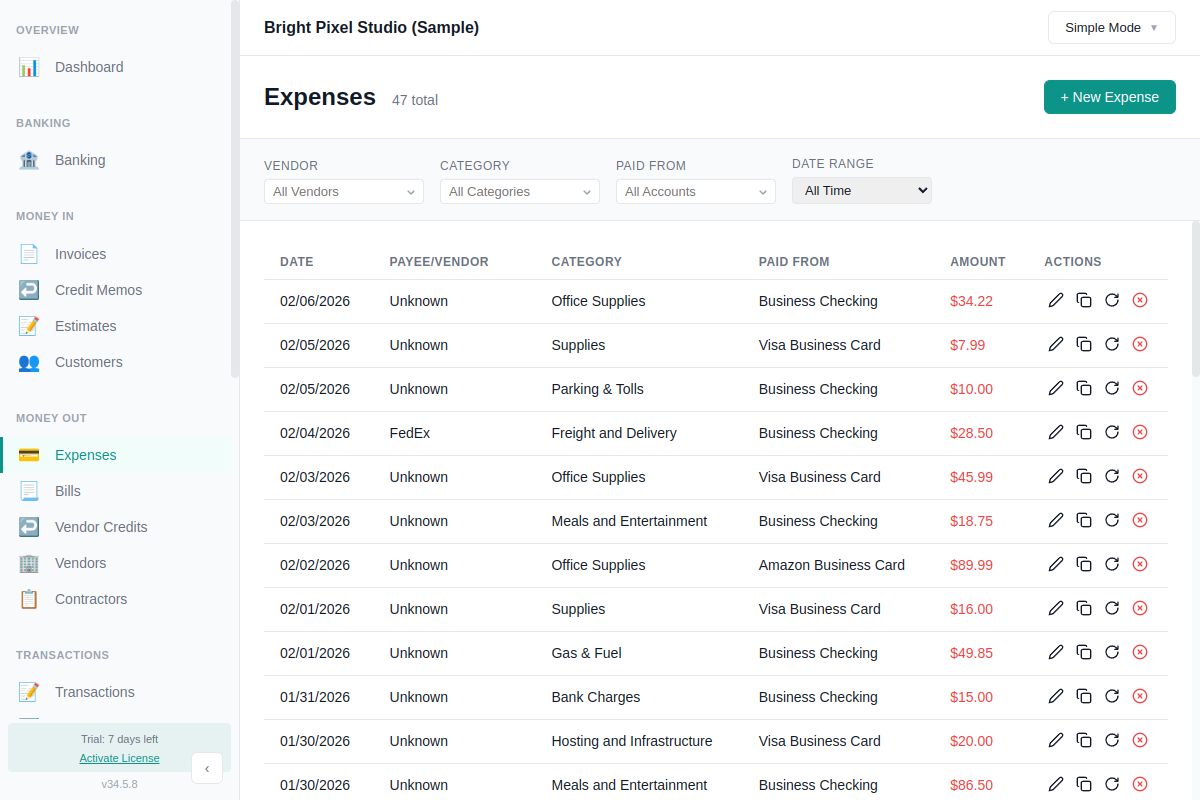
Step 4: Record Your First Transaction
To record an expense:
- Go to Expenses in the sidebar
- Click New Expense
- Select the vendor, account, and category
- Enter the amount, date, and description
- Click Save
You can also create invoices for income, or record journal entries directly if you're in Accountant Mode.
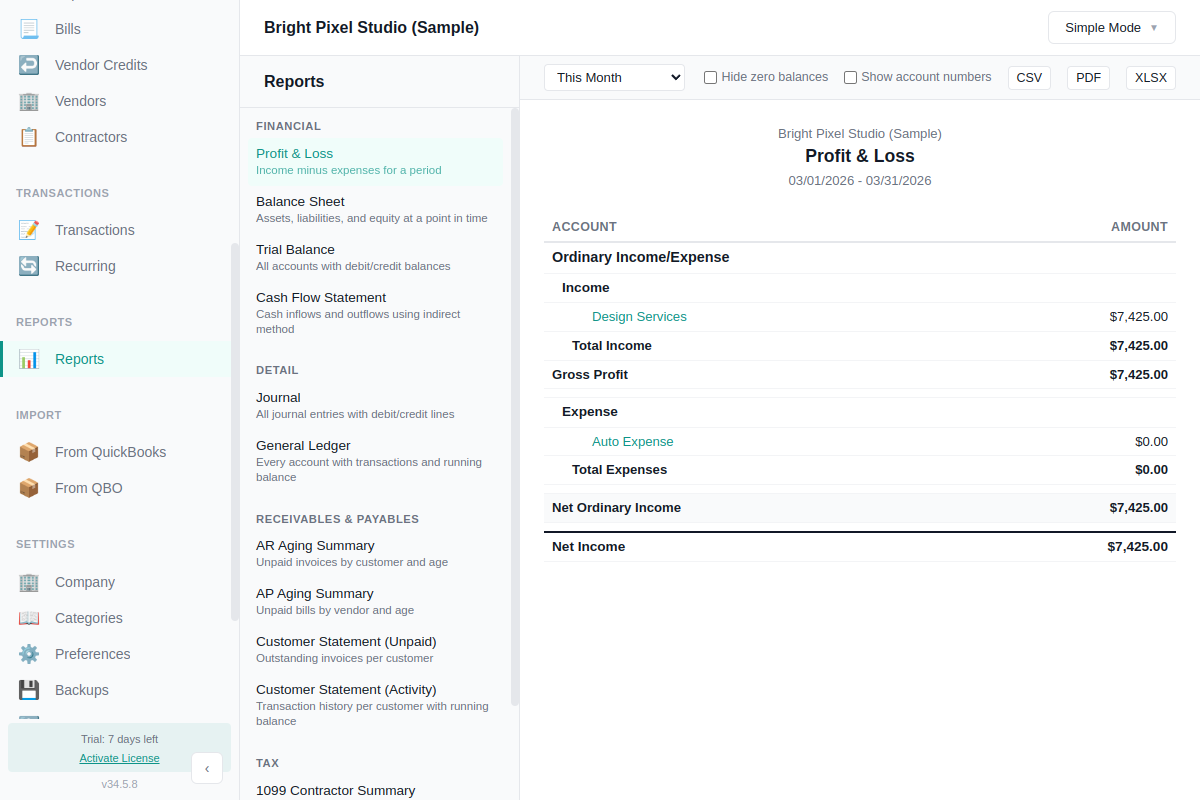
Step 5: Run a Report
Once you have some transactions, run a report to see your data:
- Go to Reports in the sidebar
- Choose Profit & Loss
- Set the date range
The report shows your income and expenses for the period. You can export it as PDF, CSV, or XLSX. See Reports for all available report types.