Your First Invoice
Create an invoice in under a minute. Here's the full flow, from opening the form to sending it to your customer.
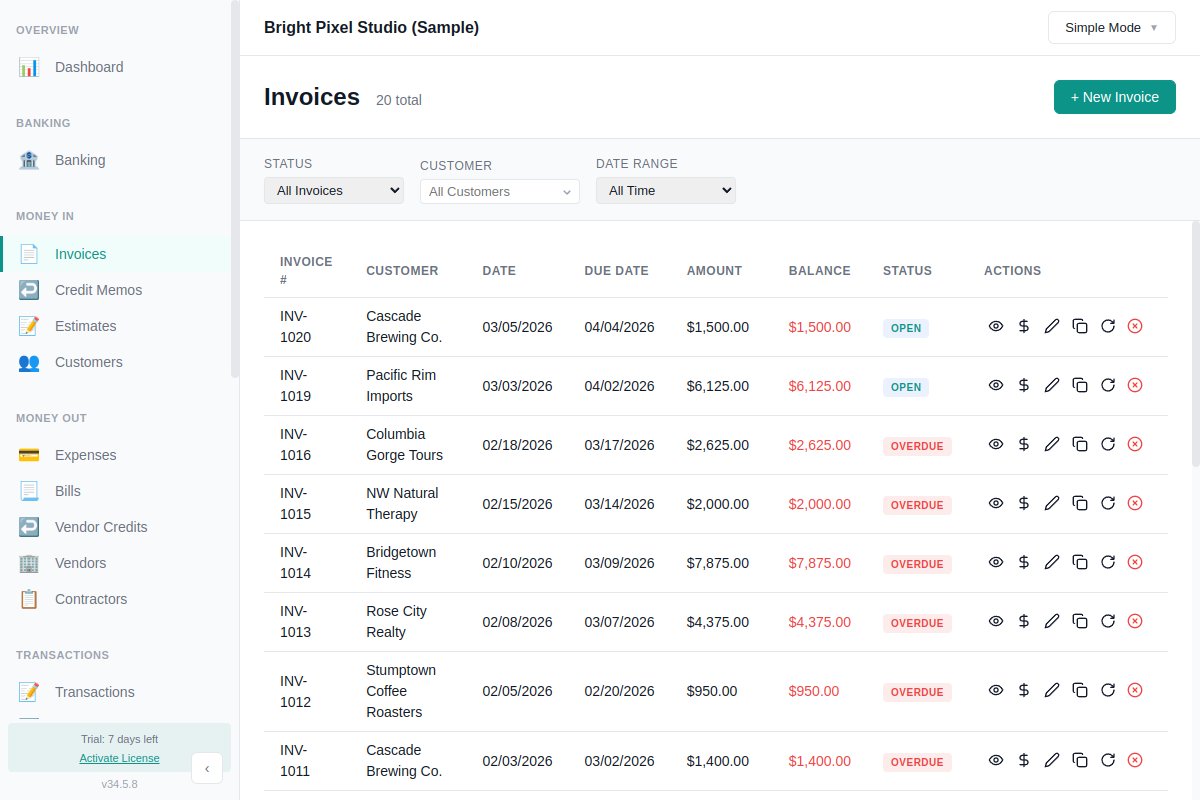
Step 1: Open the Invoice Form
- Go to Invoices in the sidebar
- Click + New Invoice in the top right
A panel slides in from the right with the invoice form.
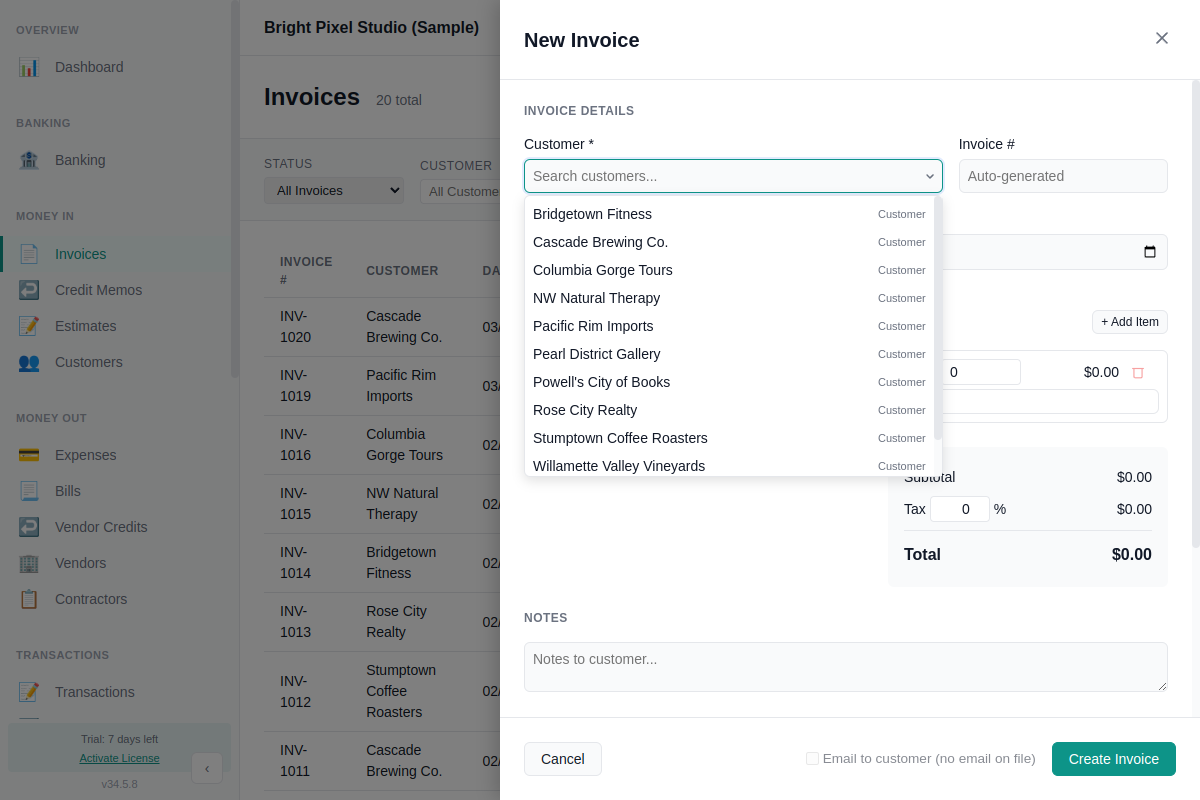
Step 2: Fill In the Details
Customer
Select a customer from the dropdown. If they're not in the list yet, click + Add to create one on the spot — just a name is required, email and phone are optional.
Invoice Number
Leave blank to auto-generate, or type your own number.
Date and Due Date
The invoice date defaults to today. The due date auto-fills based on the customer's payment terms (e.g. Net 30), or you can set it manually.
Line Items
Each line item has:
- Description — what you're billing for
- Quantity — hours, units, etc.
- Rate — price per unit
- Category — the income account to record revenue against (e.g. Design Services)
The amount calculates automatically (quantity × rate). Click + Add Item for additional lines.
Tax
Enter a tax percentage if applicable. Tax is calculated on the subtotal and added to the total. Leave at 0% if you don't collect sales tax.
Notes
Optional notes that appear on the invoice (e.g. "Payment due within 30 days" or "Thank you for your business").
Step 3: Save the Invoice
Click Create Invoice at the bottom of the form. The invoice is saved with status Open and appears in your invoice list.
Step 4: Send It
Two ways to get the invoice to your customer:
Email it from the app
Open the invoice and click Email. The PDF is attached automatically. You can review the recipient, subject, and body before sending. If you checked Email to customer on the invoice form, the send dialog opens right after you save.
First time? You'll need to connect an email account in Preferences > Email. Choose Gmail, another SMTP provider, or the built-in AllMy email service. See Email Invoicing for the full setup guide.
Export as PDF
- Find the invoice in the list
- Click the view icon (eye) to open the invoice preview
- Click Export PDF to save a PDF file, or Print to print directly
Good to know
- Standard template. Invoices use a clean, professional format with your company name, address, and contact details.
- Edit anytime. Click the pencil icon on any unpaid invoice to make changes.
Recording Payment
When your customer pays:
- Find the invoice in the list
- Click the $ icon (Receive Payment)
- Enter the payment amount, date, and which bank account it was deposited to
- Click Save
The invoice status updates automatically — from Open to Paid when paid in full. AllMy Ledger supports partial payments too: pay any amount and the remaining balance stays open.
Invoice Statuses
- Open — saved, not yet paid
- Overdue — past the due date with a balance remaining
- Paid — paid in full
- Void — cancelled (doesn't affect your books)